Crystalline Glazes: Behind the Scenes
Crystalline glazes are fascinating, both from a chemical standpoint and from the beautiful way their crystals grow. Tending to be quite runny, requiring the perfect chemical balance, and needing to be fired in a very precise way, these glazes can be a challenge to use but are intensely satisfying when they come out well.
My process begins with testing. Before I use a glaze on a large piece, I do a number of tests to tweak the number of crystals in my glaze, alter the color, or change how the glaze flows. This involves making tiny alterations to a glaze's ingredients- making subtle changes to the underlying chemistry.
The image below shows a series of tests to increase the number of crystals in my glaze. Each tile has a different glaze on it:
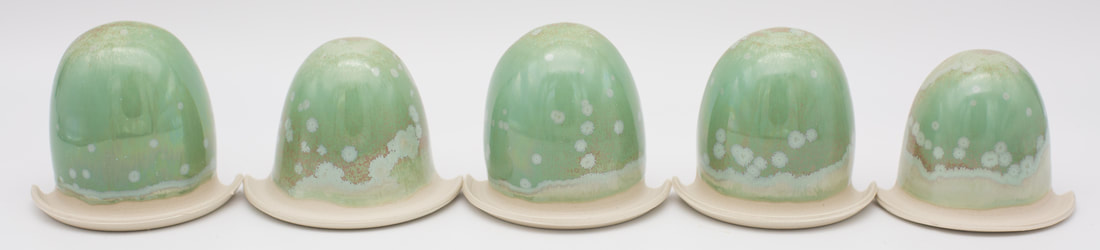
Once I've altered my new crystalline glaze to my liking, it's time to try it on a larger piece. I paint many thin layers of glaze onto each piece to get an even thickness, which is crucial to growing crystals across the piece.
The tea pot below uses a variation of the green glaze on the test tiles above. It has 5 layers of glaze painted on before firing.
The tea pot below uses a variation of the green glaze on the test tiles above. It has 5 layers of glaze painted on before firing.
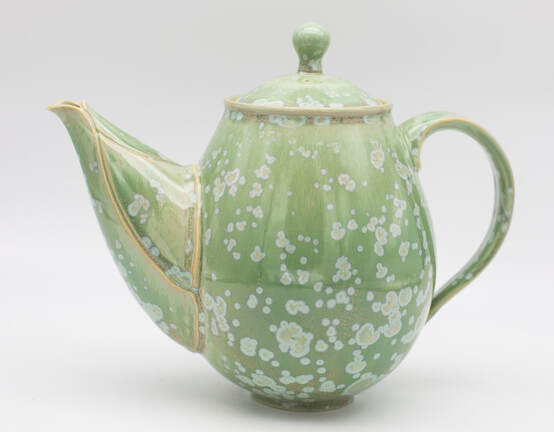
And voila, a new crystalline glaze is ready to be used!
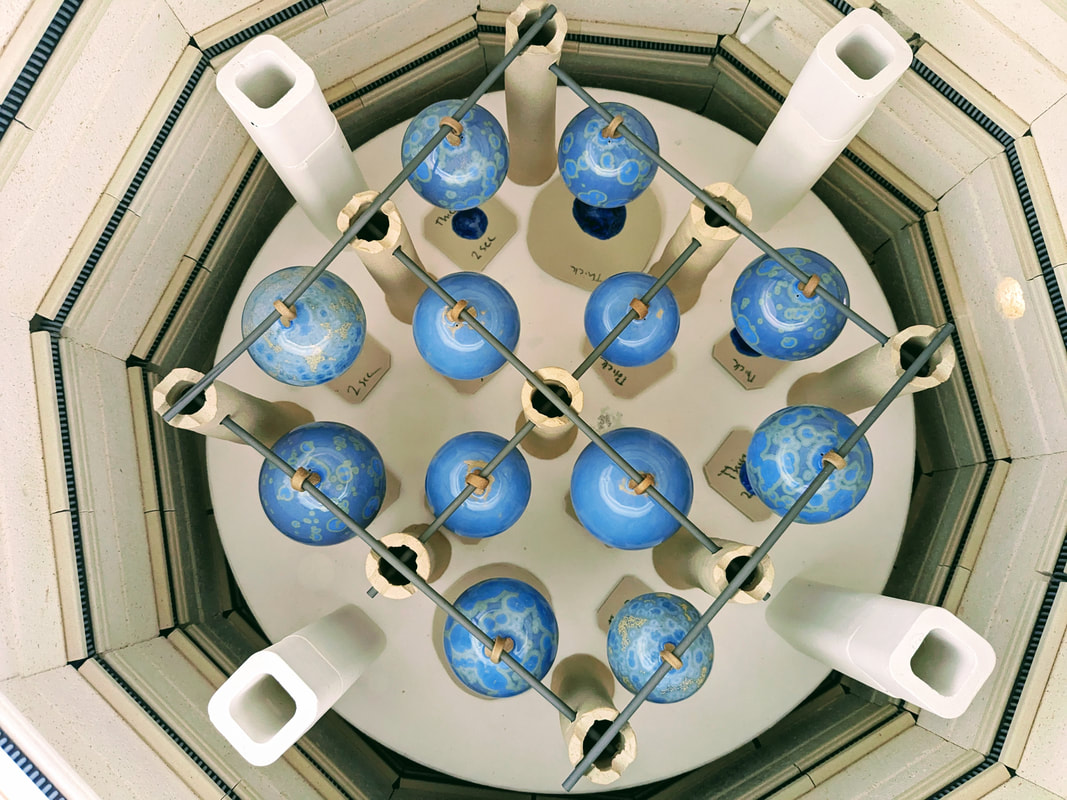
In addition to using my crystalline glazes for large pieces, I also use them for small pieces like ornaments! Below is a before-and-after of my ornament firing process:

|
|
